How to Cut Video on the Beat: A Practical Editing Guide
Learn how to mark beats, do the frame math and cut footage to music so your edits feel tight without sounding like a metronome. Works in any editor.


Watch any montage that works and you will notice something odd: you rarely notice the cuts. They land on a kick drum, a snare, a vocal entrance, and your brain files the picture and the sound together as one event. Cutting on the beat is the single most effective trick for making footage feel professional, and it is also easy to overdo until the whole video feels like a metronome. This guide covers the arithmetic, the editing workflow, and the judgment calls that separate a tight edit from a mechanical one.
Why cutting on the beat works
A beat gives the viewer a predictable moment to expect change. When a new shot arrives exactly there, the cut feels inevitable instead of abrupt. When it arrives 5 or 6 frames late, viewers cannot always say why, but the edit feels loose.
Film editor Walter Murch ranks the criteria for a good cut in his "Rule of Six", and StudioBinder's summary lists them in order: emotion, story, rhythm, eye trace, two-dimensional screen space and three-dimensional space. Murch's own advice is that you should not give up emotion before story, or story before rhythm. That hierarchy matters for music edits: rhythm is third on the list. A cut that lands perfectly on a snare but breaks the emotion of the moment is a bad cut. Beat sync is a tool in service of feeling, not a replacement for it.
The arithmetic of beats and frames
Before touching software, it helps to know how long a beat is in frames. Divide 60 by the tempo to get seconds per beat, then multiply by your frame rate.
| Tempo (BPM) | Seconds per beat | Frames per beat at 24 fps | Frames per beat at 30 fps | Seconds per 4/4 bar |
|---|---|---|---|---|
| 90 | 0.667 | 16 | 20 | 2.67 |
| 100 | 0.600 | 14.4 | 18 | 2.40 |
| 120 | 0.500 | 12 | 15 | 2.00 |
| 128 | 0.469 | 11.25 | 14.06 | 1.88 |
| 140 | 0.429 | 10.3 | 12.9 | 1.71 |
Two lessons come out of this table. First, at 120 BPM and 24 fps a beat is exactly 12 frames, so cuts land cleanly on frame boundaries. At 128 BPM or 140 BPM they do not, which means a beat falls between frames and you will be off by a fraction of a frame somewhere. That is invisible to humans, but it means that you should place cuts by listening, not by trusting a frame counter.
Second, you almost never want a cut on every beat. At 120 BPM, a cut every beat is a shot change every half second, which is frantic. Most edits cut on every bar (every 2 seconds at 120 BPM), every two bars, or on irregular strong beats such as the downbeat of a new section.
Step 1: Learn the song before you open the editor
Listen to the track three times with no video in front of you. On the first pass, find the sections: intro, verse, build, drop or chorus, breakdown, outro. On the second, tap the beat and notice where the energy changes. On the third, note the specific sounds that stand out: a riser, a cymbal crash, a vocal chop, a silence before the drop.
Write the structure down as timestamps. A typical pop or dance track at 120 BPM looks like this on paper:
- 0:00 to 0:16, intro (8 bars)
- 0:16 to 0:48, verse (16 bars)
- 0:48 to 1:04, build (8 bars)
- 1:04 to 1:36, chorus or drop (16 bars)
Those bar counts matter. Songs are built in phrases of 4, 8 and 16 bars, and your edit should respect them. If a new section starts at 0:48, the best cut of the video belongs at 0:48.
Step 2: Mark the beats
There are three practical ways to mark beats, from slowest to fastest.
Tap the markers by hand
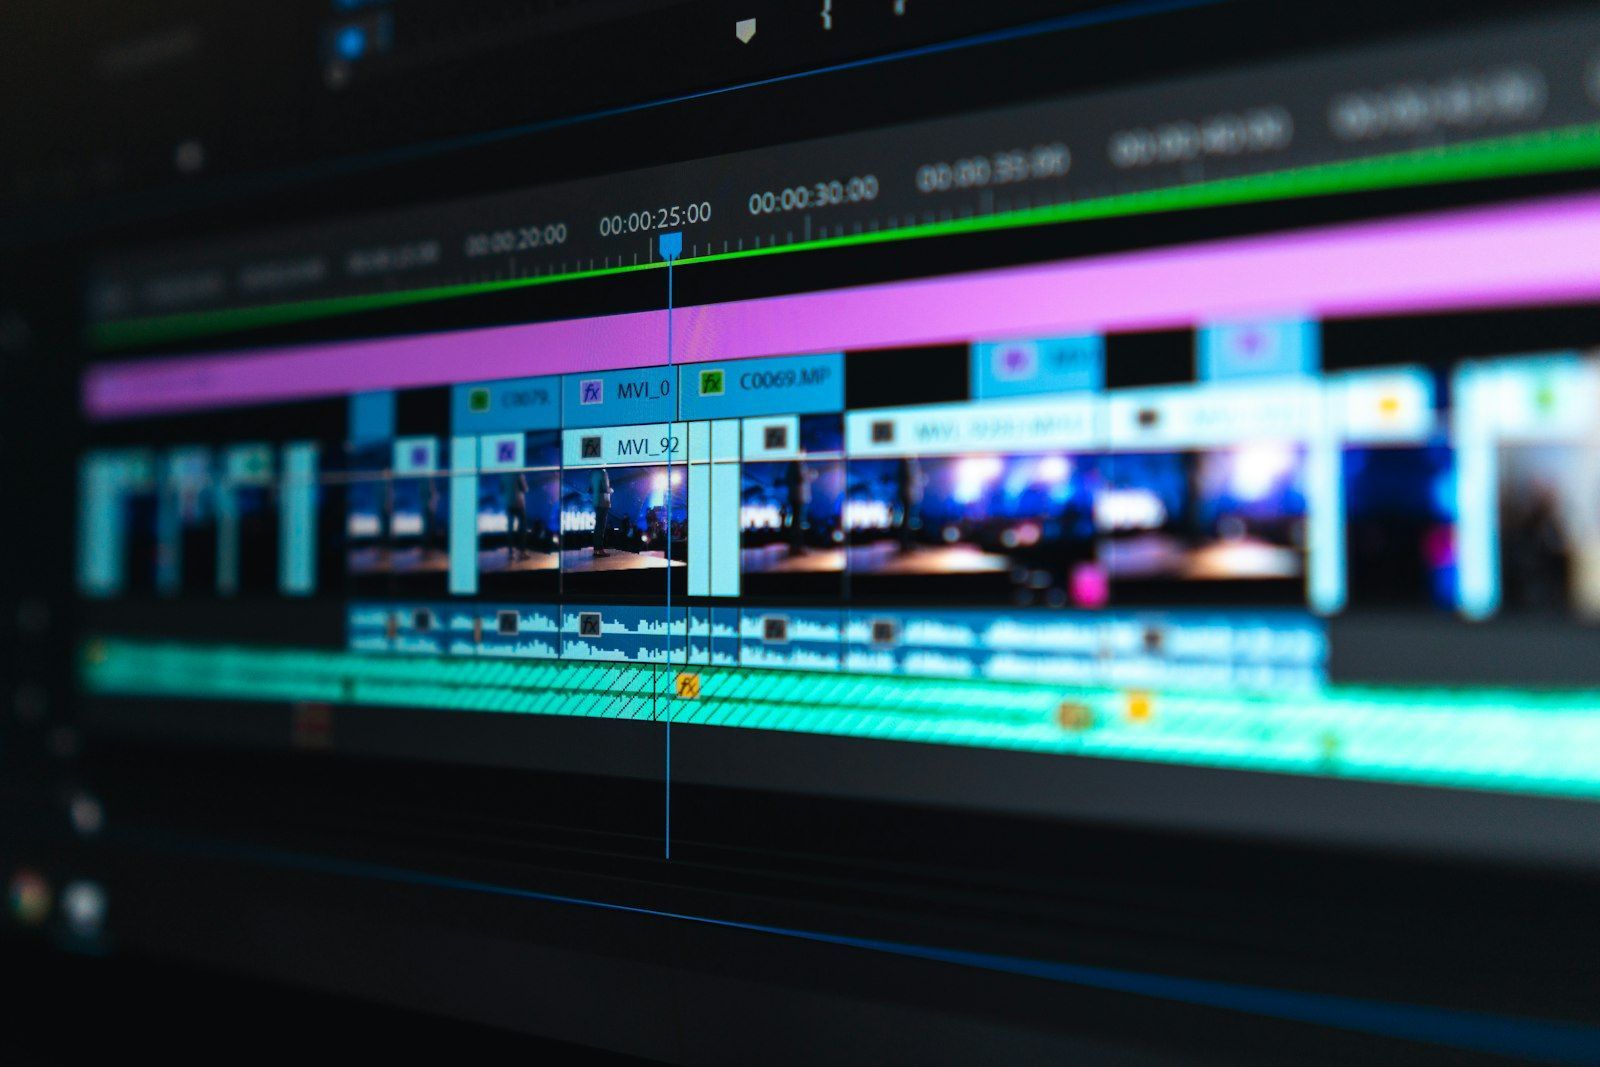
Play the track and press the marker key (M in both DaVinci Resolve and Premiere Pro) on every beat or every bar. It sounds tedious, but it takes only a few minutes for a 3-minute song, and it forces you to feel the rhythm. Tapped markers are rarely perfectly on the grid, so zoom in on the waveform afterwards and nudge any marker that sits visibly away from a transient.
Use the editor's beat detection
DaVinci Resolve can analyze an audio clip for beats. As PulseEdit's comparison explains, the "Show Music Beats" display draws beat indicators on the waveform, but these are visual guides, not real markers that clips snap to. You still need to place your cuts by eye, or convert the detections into real markers with a script or plugin. In the Fairlight page, the transient detection button in the audio timeline toolbar highlights sharp hits such as kicks and snares, which helps with drum-heavy music, as described in Filmmaking Elements' step-by-step guide.
Automatic detection struggles with swung rhythms, live drummers with loose timing, songs with tempo changes and ambient intros. Treat it as a first draft that you correct by ear.
Mark only the moments that matter
For most videos, you do not need every beat. Mark the section starts, the big drum fills, the drop, and the last note. Eight to fifteen well-chosen markers are often enough for a 90-second video. Between those anchors you can cut on feel.
Step 3: Cut the footage to the markers
With markers in place, turn on snapping (S in Premiere Pro, N in DaVinci Resolve) so clip edges jump to them. Then work in this order.
- Place the hero moments first. Put your best shot on the biggest musical moment, usually the drop or the first chorus. Everything else is built around it.
- Fill the sections with clips of the right length. A verse can carry shots of 2 to 4 seconds. A build should get shorter, going from two bars to one bar to a beat, so the viewer feels the pressure rise. A drop can then hold a long, wide shot for a bar or two as a release.
- Cut on action, not just on sound. If a dancer jumps, a ball is kicked or a door slams, the visible impact should land on the beat. Trim so that the moment of contact, not the start of the movement, falls on the marker.
- Check by watching without the picture first. Close your eyes during playback. If the cuts sound like they are in time (you will hear them as small changes in what you expect), you are close.
The pre-roll trick
In practice, many editors find that a visual hit feels best when it lands on the beat or a frame or two before it, because a late picture reads as sloppy while a slightly early one reads as punchy. If a cut that is mathematically exact feels late, move it 1 or 2 frames earlier. Try this before you decide that you need to retime anything else.
Cut on the beat, but not on every beat
The most common mistake is to treat the beat grid as a rule. A few patterns avoid the metronome feel.
- Cut on the "and". In a verse, cutting just before the beat (on the off-beat) creates forward momentum. The viewer's eye is pulled into the next shot and the beat arrives as the new shot settles.
- Vary shot length in groups. Use four 1-bar shots, then one 2-bar shot, then two half-bar shots. Pattern plus variation is what makes a rhythm feel musical.
- Let some beats pass. Silence in the cutting pattern is also rhythm. A long held shot over a drum break can feel more powerful than six quick cuts.
- Match the cut density to the energy. Slow ballads can run 4 to 8 seconds per shot. Fast electronic tracks can use 1 to 2 seconds. Cut density should follow the song, not your wish to show off every clip.
Beyond cuts: moving things on the beat
Cuts are not the only way to sync. These effects, used sparingly, make footage feel connected to the track.
- Speed ramps. Slow footage slightly into a beat and speed it up after, so motion accelerates with the music.
- Camera shake or punch-in. A 5 to 10 percent zoom that snaps on a kick drum gives the impression of impact. Keep the same amount on every hit, or the effect looks random.
- Transitions. Whip pans and light flashes work when their peak sits on the beat. Their start should be before the beat, not on it.
- Text and graphics. Titles that appear on the downbeat and leave on the next bar look intentional. Titles that float in at random times look like an afterthought.
Short-form video: a different tempo
On TikTok, Reels and YouTube Shorts, the first 1 to 2 seconds decide whether a viewer stays. Many creators use a hard cut or visual hit on the very first beat, so that the audio and picture grab attention together. Short clips also reward loops: end the video on a bar boundary so that when it repeats, the beat carries over without a stumble. If the platform trims your audio to a clip of 15 or 30 seconds, choose the segment that starts on a downbeat, not mid-phrase.
Common problems and fixes
| Problem | Likely cause | Fix |
|---|---|---|
| Cuts feel late | Cuts placed exactly on the transient | Move 1 to 2 frames earlier |
| Edit feels robotic | Cut on every beat with equal shot lengths | Vary length, cut on bars and fills |
| Drift near the end of the song | Live tempo changes or a variable-tempo track | Re-mark markers in each section |
| Footage looks random against the music | Clips chosen by availability, not by energy | Sort clips by energy and assign them to sections |
| Beat detection misses hits | Soft intros, swing, live drums | Tap markers manually |
Try this today
Pick a 60-second piece of music with a clear drop and ten clips you already have. Listen to it three times, write down where the sections change, and place five markers: the start, the build, the drop, the second chorus and the last note. Cut the video using only those five anchors and fill the rest by feel. Then do a second version where you cut on every beat, and compare them. Most people find that the five-marker version feels more alive, and that is a good lesson to carry into every edit you make.
If you want to go further, read the Rule of Six summary and watch a favorite music video with the sound off. Notice where the cuts happen, then turn the sound on and see how many of them fall on a beat. You will likely find that the best ones follow the emotion of the song first.
Build your next playlist with Mixider
Mix YouTube, SoundCloud, Bandcamp and more in one shared playlist, and let your friends add their picks.
Try Mixider for free