How to Mix Music Under Voiceover So Words Stay Clear
Set music levels under speech, duck it by hand or automatically, carve space with EQ and check loudness so every word in your video stays clear.
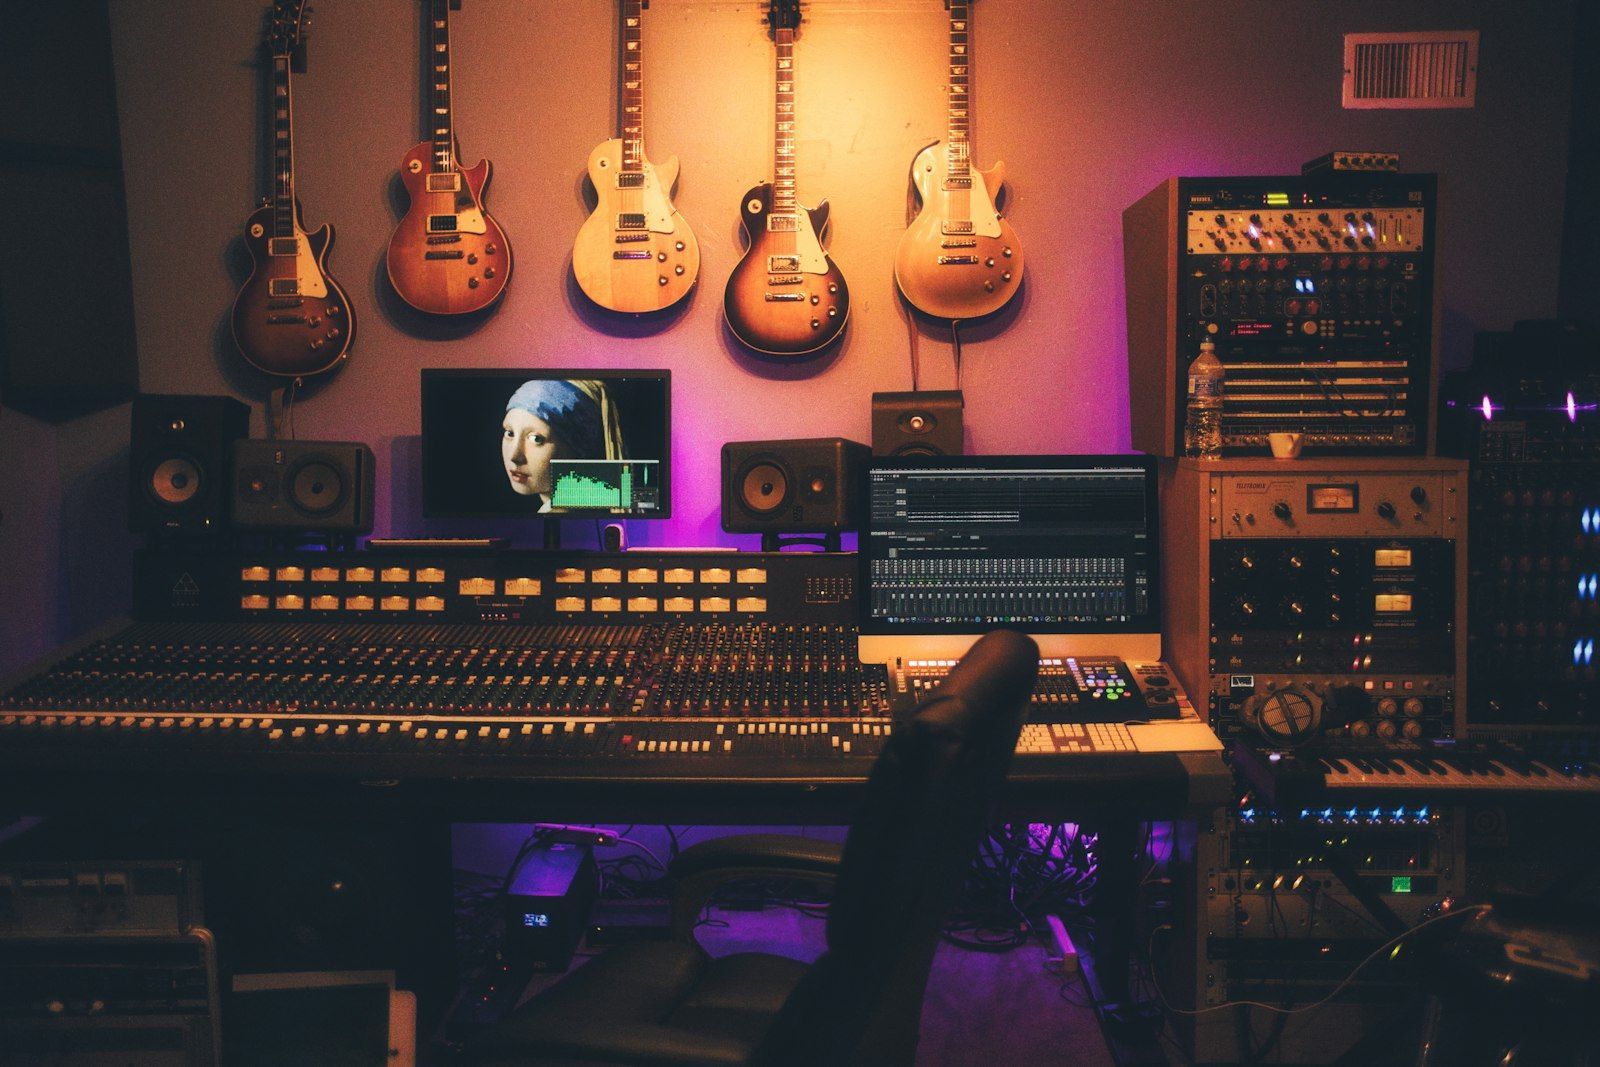


Watch a video with a great voiceover and mediocre music, and you will probably enjoy it. Watch one with great music that drowns the narrator, and you will probably leave. Viewers forgive a lot, but they rarely forgive being unable to understand the person talking, which is why mixing music under speech is one of the most valuable skills in video editing and one of the least discussed.
This guide covers how to set music levels under voiceover and dialogue, how to duck music automatically or by hand, how to use EQ to carve space for a voice, and how to check the final loudness before you export.
Why music fights speech in the first place
Speech and music compete for the same narrow slice of the frequency spectrum. The intelligibility of a human voice depends largely on the range from roughly 1 kHz to 4 kHz, where consonants like "t", "s" and "k" live. A pop track, a cinematic score or an acoustic guitar bed all carry plenty of energy in that same region, so when both play at once your ear has to untangle them.
Two things make the problem worse. First, music is usually mastered loud and dense, with very little dynamic range, so it sits at a high level all the time and never "gets out of the way" the way a quiet room tone would. Second, voices change in level constantly: a narrator may be soft at the end of a sentence and punchy at the start of the next. A music level that works for the loud words buries the quiet ones.
The fix is not simply turning the music down. A music bed turned down far enough to never interfere often disappears completely, and the video feels flat. The goal is a mix where the music is clearly present in the pauses and clearly subordinate while someone speaks.
Start with a sensible level relationship
Before you touch any plugin, set a baseline. Play your voiceover and watch its meter. For spoken word in a typical edit, most people aim for the voice to peak somewhere around -12 to -6 dBFS on the track meter, which leaves headroom for the final mix. These are working rules of thumb rather than a standard, so adjust to your delivery platform and your own ears.
Then set the music bed relative to the voice:
| Situation | Music level relative to voice | Why |
|---|---|---|
| Voiceover over a quiet bed (documentary, explainer) | 18 to 25 dB below the voice peaks | Music is texture, speech must be effortless to follow |
| Voiceover over upbeat music (vlog, promo) | 12 to 18 dB below the voice peaks | Music carries energy, but words still lead |
| Music-only section (intro, b-roll, transition) | Raised to full level | The music is the star here |
| On-camera dialogue with a bed underneath | 15 to 20 dB below the dialogue | Lip sync draws attention, so the bed must stay discreet |
These numbers describe track meter peaks, and music with a strong low end will read hotter than it sounds. Treat the table as a starting point, then listen on both headphones and a small speaker, such as a laptop or phone. If you can follow every word on the phone speaker, you are in good shape.
Method 1: Manual keyframes
The oldest technique is still the most precise. You draw volume keyframes on the music clip: a high level where there is no speech, a lower level while someone talks, and a short ramp between the two.
A workable routine:
- Put the music on its own track and play the full sequence once without touching anything, just to hear where the conflicts are.
- Add two keyframes just before each spoken section, about a third of a second to half a second apart, and drop the second one to your "under voice" level.
- Add two more keyframes just after the speech ends, and bring the level back up over roughly half a second to a full second.
- Make the downward ramp faster than the upward one. The ear forgives a quick dip before a voice enters, but a slow, sudden swell after a voice stops feels unnatural.
Manual ducking is the right choice when you have only a few spoken passages, or when you want musical judgment: for example, letting a drum fill or a key lyric swell through at the end of a sentence. It is also the safest option when the dialogue recording is noisy, because an automatic detector may react to the noise instead of the words.
Method 2: Automatic ducking
When a project has a lot of speech, such as a podcast video, a tutorial or an interview, drawing keyframes becomes tedious. Automatic ducking watches the voice track and lowers the music whenever it detects speech. There are two common forms.
Sidechain compression
A compressor on the music track is told to listen to the voice track instead of its own signal. When the voice gets louder than the threshold, the compressor turns the music down by the amount you choose, and when the voice stops, the music returns. This works in nearly every audio workstation and most video editors, including DaVinci Resolve's Fairlight page, as Larry Jordan's walkthrough of ducking in Resolve shows.
The settings that matter most:
- Threshold: set so the compressor reacts to speech but not to breaths and room noise.
- Reduction amount: aim for roughly 6 to 12 dB of gain reduction while someone speaks. More than that and the music pumps audibly.
- Attack: fast, about 10 to 50 milliseconds, so the music is already down when the first syllable lands.
- Release: slower, around 300 milliseconds to 1 second, so the music returns smoothly rather than snapping back between words.
Dedicated ducker effects
Many editors now ship a simpler ducking effect with fewer controls: choose a source track, set how far to duck and how quickly it recovers. Recent versions of Resolve have one, Premiere Pro has an auto-ducking feature in its Essential Sound panel, and Final Cut Pro offers a similar automatic option. They are faster to set up than a sidechain and usually good enough for talking-head and explainer content. Check the exact menu names in your own version, since they change between releases.
Whichever method you use, listen for pumping. If you can hear the music breathe in and out with every sentence, the release is too fast or the reduction is too deep. Lengthen the release or reduce the amount until the movement feels like part of the mix instead of an effect.
Method 3: Carve space with EQ
Ducking changes how loud the music is. EQ changes where the music lives in the spectrum, and the two work best together. Instead of pushing the whole track down by 20 dB, you can reduce the frequencies that clash with the voice and leave the rest at a higher level.
A simple EQ recipe for the music bed:
- Add an equalizer to the music track.
- Create a broad dip of about 3 to 5 dB centered somewhere between 1.5 kHz and 3 kHz, the region where speech intelligibility is concentrated.
- Use a gentle high-pass filter below 60 to 80 Hz if the track has rumble that will compete with the voice's low end.
- Compare with and without the EQ while the voice is playing. The music should lose some "midrange crowding" but keep its weight and sparkle.
You can also give the voice a small boost in the same region, for example 1 to 2 dB around 3 kHz. A touch of compression on the voiceover, with a ratio around 2.5:1 to 3:1 as a conventional starting point for dialogue, evens out the level so that the music bed does not have to guess. Compression also keeps the quietest words from slipping under the music.
If your music comes with stems, such as separate drums, bass, melody and vocals, you have an even better option. Drop the vocal stem, or the lead melody, whenever the narrator speaks, and keep the rhythm section running. That keeps the energy up without creating any competing words, which matters because lyrics are the worst offender: the brain cannot easily process two streams of language at once.
Choose music that helps you mix
A lot of mixing problems are really selection problems. Before you spend half an hour on EQ, ask whether the track suits the job.
- Prefer instrumentals under speech. Lyrics compete directly with a narrator. If you love a song with vocals, use it in the sections where nobody talks.
- Look for steady, uncluttered arrangements. Pads, soft piano, light percussion and ambient textures sit under a voice easily. Busy lead lines, brass stabs and solos do not.
- Avoid big dynamic swings. A track that goes from a whisper to a full-band chorus will need constant riding of the level.
- Pick the right section of the track. Many songs have a verse that works under speech and a chorus that does not, so cut and loop accordingly.
If you are building a video from a larger playlist of candidates, it helps to sort the tracks by role: beds for talking, high-energy tracks for montage, and short stingers for transitions. Our guide to cutting video on the beat covers the music-forward end of that spectrum, where rhythm drives the edit instead of staying in the background.
Also confirm that you are allowed to use the track at all. A beautifully mixed video that is muted or demonetized on upload is wasted work, and our overview of music licensing for video creators explains what you can safely use.
Check the final loudness
A good internal balance does not guarantee a good overall level. Once the music and voice work together, measure the whole mix with a loudness meter. Loudness is measured in LUFS (Loudness Units relative to Full Scale), which approximates how loud something feels instead of just how high its peaks reach.
Broadcast has an official reference: the EBU R128 recommendation calls for an average programme loudness of -23 LUFS with a tolerance of 0.5 LU. Online video follows looser conventions, and platforms apply their own normalization, so check each platform's current guidelines before you pick a target. Many creators land in the range of about -16 to -14 LUFS integrated for web video, and the logic behind that is explained in our article on how loudness normalization ended the loudness war.
Two practical checks beyond the number:
- Compare against a reference. Play a professionally produced video of the same type right after yours at the same system volume. If you keep reaching for the volume knob, your mix is off.
- Listen to the quietest speech. Find the softest sentence in the video and confirm you can still follow it with the music running. That sentence is your real test.
Try this on your next edit
Take a video you have already finished, ideally one with a voiceover, and give it a ten-minute remix:
- Move the music to its own track and the voice to another, if they are not separated already.
- Cut the music level to a conservative 20 dB below the voice peaks.
- Add either sidechain ducking or a dedicated ducker, with about 8 dB of reduction, a fast attack and a release near half a second.
- Add the EQ dip around 2 kHz on the music and compare with it bypassed.
- Check the integrated loudness, then listen on a phone speaker.
Export the new version next to the old one and play them back to back. The difference is usually obvious, and once you have heard it you will start noticing it in every video you watch.
Build your next playlist with Mixider
Mix YouTube, SoundCloud, Bandcamp and more in one shared playlist, and let your friends add their picks.
Try Mixider for free